8 Steps on How To Build An Ebike Battery: Complete Guide
Building an ebike battery is a fun and easy project that can give you great enjoyment. If you’re looking to build your own ebike battery, you’re in for a fun and exciting journey! In this comprehensive guide, I Will show you everything you need to know in order to get started. I will provide instructions on how to build your own e-bikes battery with step by step guide. So if you’re Interested in building your own ebike battery, be sure to read on!
How To Build An Ebike Battery: Lithium Battery
Step 1: Test each cell voltage using a voltmeter
Step 2: Set up the battery cells you’ll be connecting in parallel and series
Step 3: Cut the nickel strips to the appropriate lengths to link the batteries.
Step 4: Use hot glue to hold the cells in place and weld the connections first
Step 5: Use your spot welder to attach the nickel ribbon or plating to the cell terminals.
Step 6: Place foam padding and insulation around the BMS.
Step 7: After the BMS is installed, connect the connectors
Step 8: Finally, seal the battery using a heat shrink tube.
Choose the right battery For Your E-bike:
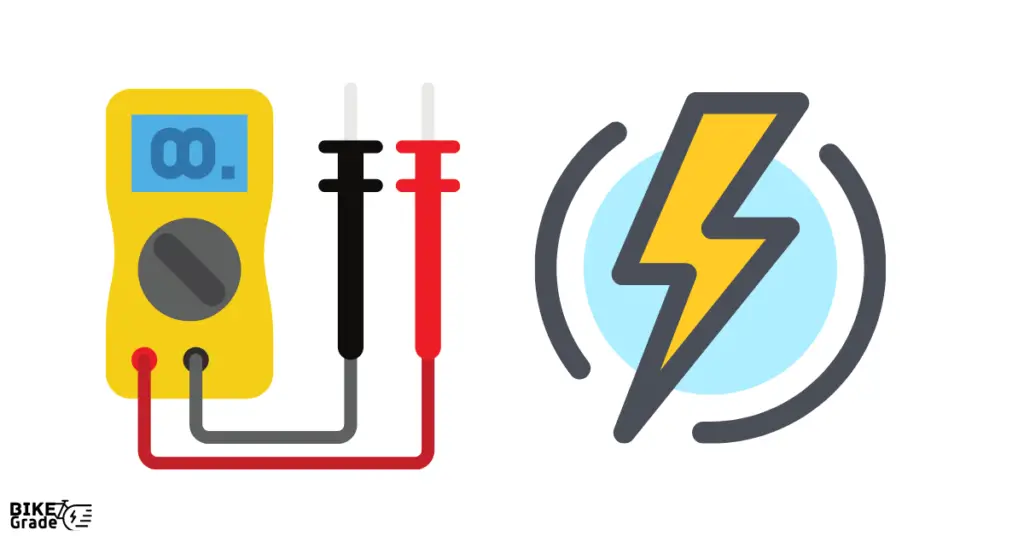
Choosing the right battery for your electric bike can be a daunting task. Not only do you need to consider the wattage of the battery, but also the voltage, capacity and weight. Here are some tips to help you choose the perfect battery for your ebike.
Wattage:
The wattage of the battery is important, but it’s not the only factor to consider. The type of riding you plan on doing will also affect your choice. A higher wattage battery may not be suitable for off-road use, while a lower wattage battery may be too weak for on-road use.
Voltage:
The voltage of the battery is also important. You need to make sure that the voltage matches the electrical system in your bike. If you have an ebike with a high voltage (24 or 36 volts), you’ll need a higher wattage battery to match.
Capacity:
The capacity of the battery is also important. Make sure that the battery has enough power to last your ride without having to recharge it. Some batteries have a limited capacity and may not be suitable for long rides.
Weight:
Finally, weight is another important factor to consider when choosing an ebike battery. Make sure that the weight of the battery isn’t too heavy or too light for your bike. A heavy battery will cause the bike to feel unstable, while a light battery may not have enough power.
Types of ebike batteries
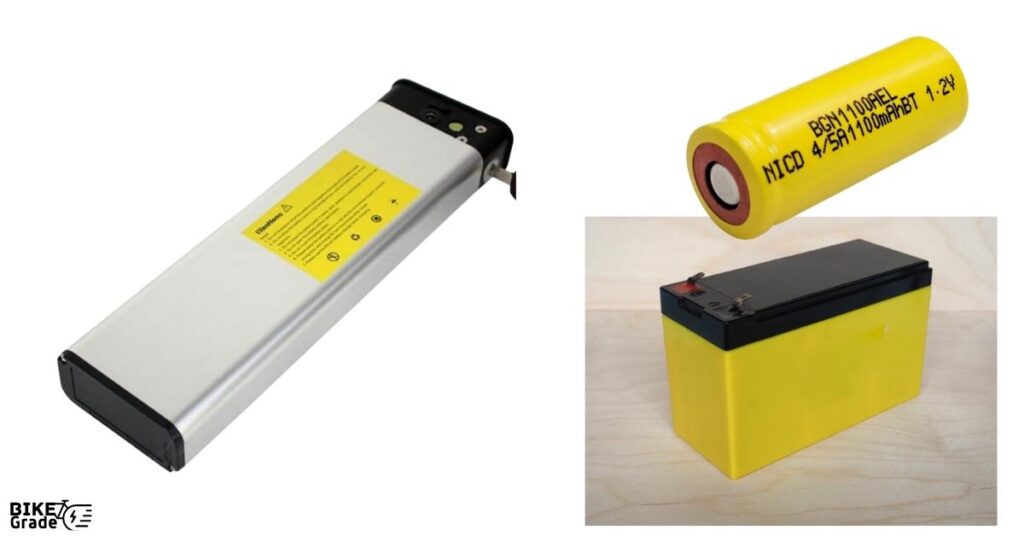
- Lead-acid Battery
- Nickel-cadmium Battery
- Lithium-ion/Li-ion Battery
Lead-acid Battery:
The lead-acid battery is the most common type of ebike battery. It’s a traditional battery that uses lead as its main component. This type of battery is heavy and can take a while to charge, but it’s usually very reliable.
Nickel-cadmium Battery:
The nickel-cadmium battery is a newer type of battery that uses cadmium as its main component. This type of battery is lighter than the lead-acid battery and can be charged more quickly.
However, it doesn’t last as long as the lead-acid battery and may not be suitable for extended use in cold climates.
Lithium-ion/Li-ion Battery:
The lithium-ion/Li-ion battery is a more recent type of ebike battery that uses lithium ion as its main component. This type of battery is lighter than both the nickel-cadmium and lead-acid batteries, but it’s also more expensive.
For e-bike the best type is Lithium-ion/Li-ion Battery . They are lighter, more powerful and have a longer life.
Choose the right charger:
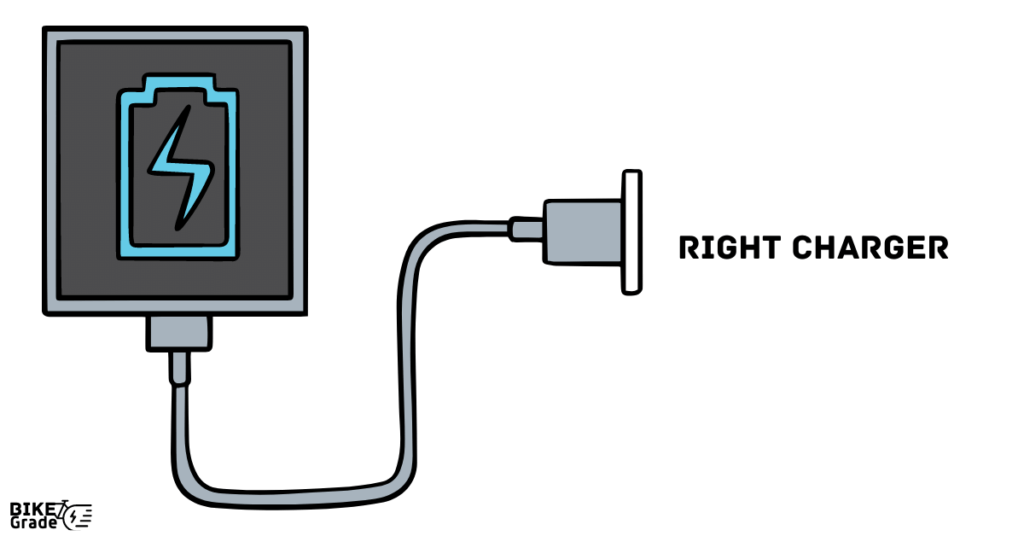
Choosing the right charger for your e-bike can be a daunting task. There are so many different types, brands, and sizes to choose from, and it can be hard to know which one will fit your needs. The best way to start is by figuring out what type of e-bike you have.
Types of E-bike Charger:
There are many different brands of chargers out there, and it can be hard to decide which one is the best. Here are some tips to help you choose the right charger for your ebike.
AC/DC Chargers:
AC/DC chargers are the most common type of charger. They plug into an AC outlet and will charge your battery quickly.
Smart Chargers:
Smart chargers are a newer type of charger that uses technology to identify your battery and charge it at the correct speed. This is a great option if you want to avoid overcharging your battery or if you have multiple batteries to charge at once.
Car Adaptor Chargers:
Car adaptor chargers allow you to use your car’s power outlet to recharge your battery. This is a great option if you plan on using your ebike outside of home or if you have a limited number of outlets available.
Home & Office Charger:
Home & office chargers are perfect for charging your battery at home or at work. They typically have multiple ports so you can charge multiple batteries at once.
Universal Chargers:
Universal chargers are a great option if you want to be able to use any type of charger. This is the best option if you don’t know which type of charger will fit your needs.
Battery Care and Maintenance:
Batteries are important for e-bikes, but they need to be taken care of in order to last. Make sure you charge them at least once a week, and never leave them plugged in overnight.
If your battery starts to show signs of wear, like it’s not holding a charge as well, it’s time to replace it. And finally, always dispose of batteries in an environmentally responsible way.
Here is the 6 maintenance tips:
- Charge your battery at least once a week.
- Never leave your battery plugged in overnight.
- Clean your cables every month or so, depending on use and weather conditions
- Check the fluid level and replace any that is low
- Store batteries in a cool, dry location
- If DIY battery Make sure use BMS
Conclusion
Building your own e-bike battery is a relatively simple process that can be completed in just a few hours. By following these steps, you will be able to create a high-quality battery that is capable of powering your ebike for long periods of time.
Make sure to choose a battery that is suitable for your bike, has the correct voltage, and has enough capacity. And finally, make sure to choose the right charger for your needs.

